Tuesday, March 22, 2016

Hard News

For this assignment I had a couple of opportunities to capture a few car crashes on-site. However, in the rush of getting the photos and avoiding the awkward chat about rights with police, most of the exposures were blurry, out of focus, or just plain boring. However, I did capture one photo at the scene of a serious drunk driving incident on Red Hills Parkway. This is the photo I captured.

1/15s f5.6 55mm

To say the least, this was a very lucky exposure. The huddled family watching a scattered emergency response crew gives context almost immediately. I cropped the photo to center more on the family, giving just the edge of frame to the actual story (the EMT and firetruck). I also decreased the saturation just a hair, and increased the contrast to give this photo a heavier psychological appeal. Unfortunately, this is the only "quality" take that I was able to capture in my scramble at the scene, but I still wanted to at least post this photo for the contextual showcase.

Because one photo is most likely not enough for an entire story, I shot one more hard news event that I had the chance to attend. The 'Perks!' coffee shop off of mall drive in Washington city was having an advertisement shot for their business, and I was able to get a few frames of the process. The push for local businesses is definitely waning in St. George, and I thought this particular event would satisfy a hard news craving.

1/50s f5.6 55mm

1/25s f5.6 55mm

1/15s f5 18mm

When shooting the take, I tried my best to incorporate the entire story in one frame. At first I tried utilizing a shallow depth of field, with the business in focus, and the story in the background. This seemed to be a bit more subtle than just showing the camera crew working on their project. After a few successful frames of that idea, I decided on doing a more artsy, "Vince Gilligan-esque" take with a wide frame, effectively capturing the hole-in-the-wall style of the coffee shop as well as the art of film that was present at the time. The first two frames are almost identical, but I couldn't decide between the two. I like the first one a little bit more, because the crew looks as though they're in the process of directing, but the second frame looks more as if they're shooting a day-in-the-life of a coffee maker. I wanted both shots to look more on the warm side, so I boosted the temperature and the saturation by a touch in post. The third frame felt better as a high-contrast black and white simply to illustrate the event more effectively.

Sunday, March 20, 2016

Natural Light Portraits (Redux)

When framing for this project, I wanted to find a location that gave an interesting bouquet and flattering light. The following shots were taken in the stairwell on the 4th floor of the Holland library. The corner of the room had soft exposure on the northern side and a hard light from the eastern exposure. I wanted to try utilizing this light to accomplish a few different lighting scenarios. I ended up achieving a 1:5 split light, a Rembrandt light, and a soft rim. Out of all these photos, my absolute favorite is the final one in the post. I wanted to tell Mally's story as effectively as possible with these portraits, and I feel that this series gets the job done well. The first photo breaks the idea of negative space, and doesn't leave any lead room for the subject in the frame. The other three however utilize the rule of thirds and spacial clarity to their advantages; I just wanted at least one of the photos to break from the conformity and touch on experimental. 

1/250s  f5.6  55mm


1/800s  f5.6  55mm


1/320s  f5.6  55mm

The photo above is hanging on a bit of a soft focus, but I included it regardless. Something about the soft focus forces attention onto the lighting and emphasizes the story of the take.

1/320s  f5.6  55mm

These two portraiture projects have been by far my favorite projects in this class. Working a DSLR is a new experience for me personally, and I feel as though these projects have tested my abilities since the beginning of the course.

Sunday, March 13, 2016

Portraiture

In composing the frame for a rembrandt portrait, gender played a huge part in deciding how to portray the subject. For instance, for the photo of Kade in his uniform I wanted to show him as an authority figure; this is why I lended myself towards a low-angle frame. For the shots of Bre, I wanted to capture both the beauty and strength of her character. Although this was a rembrandt setup, I tried to angle the frame in such a way that the lighting accentuates her high cheekbones. The gradient in the background adds a nice effect, being parallel to the shadow casted on the left side of the face. The pose was a nice touch, but I can't take credit for that part. The last two subjects were an experiment in a negative fill background. Rembrandt can create an absolutely mystifying or empowering look if shot at just the right angle. The light burst "triangle" of light on the subjects' cheek gives the face some structure as well as playing off the highlights apparent in the rest of the frame. 
1/100 f5.6 55mm

1/50 f5.6 55mm

1/50 f5.6 55mm

1/60 f5.6 53mm

1/60 f5.6 55mm

1/50 f5.6 55mm


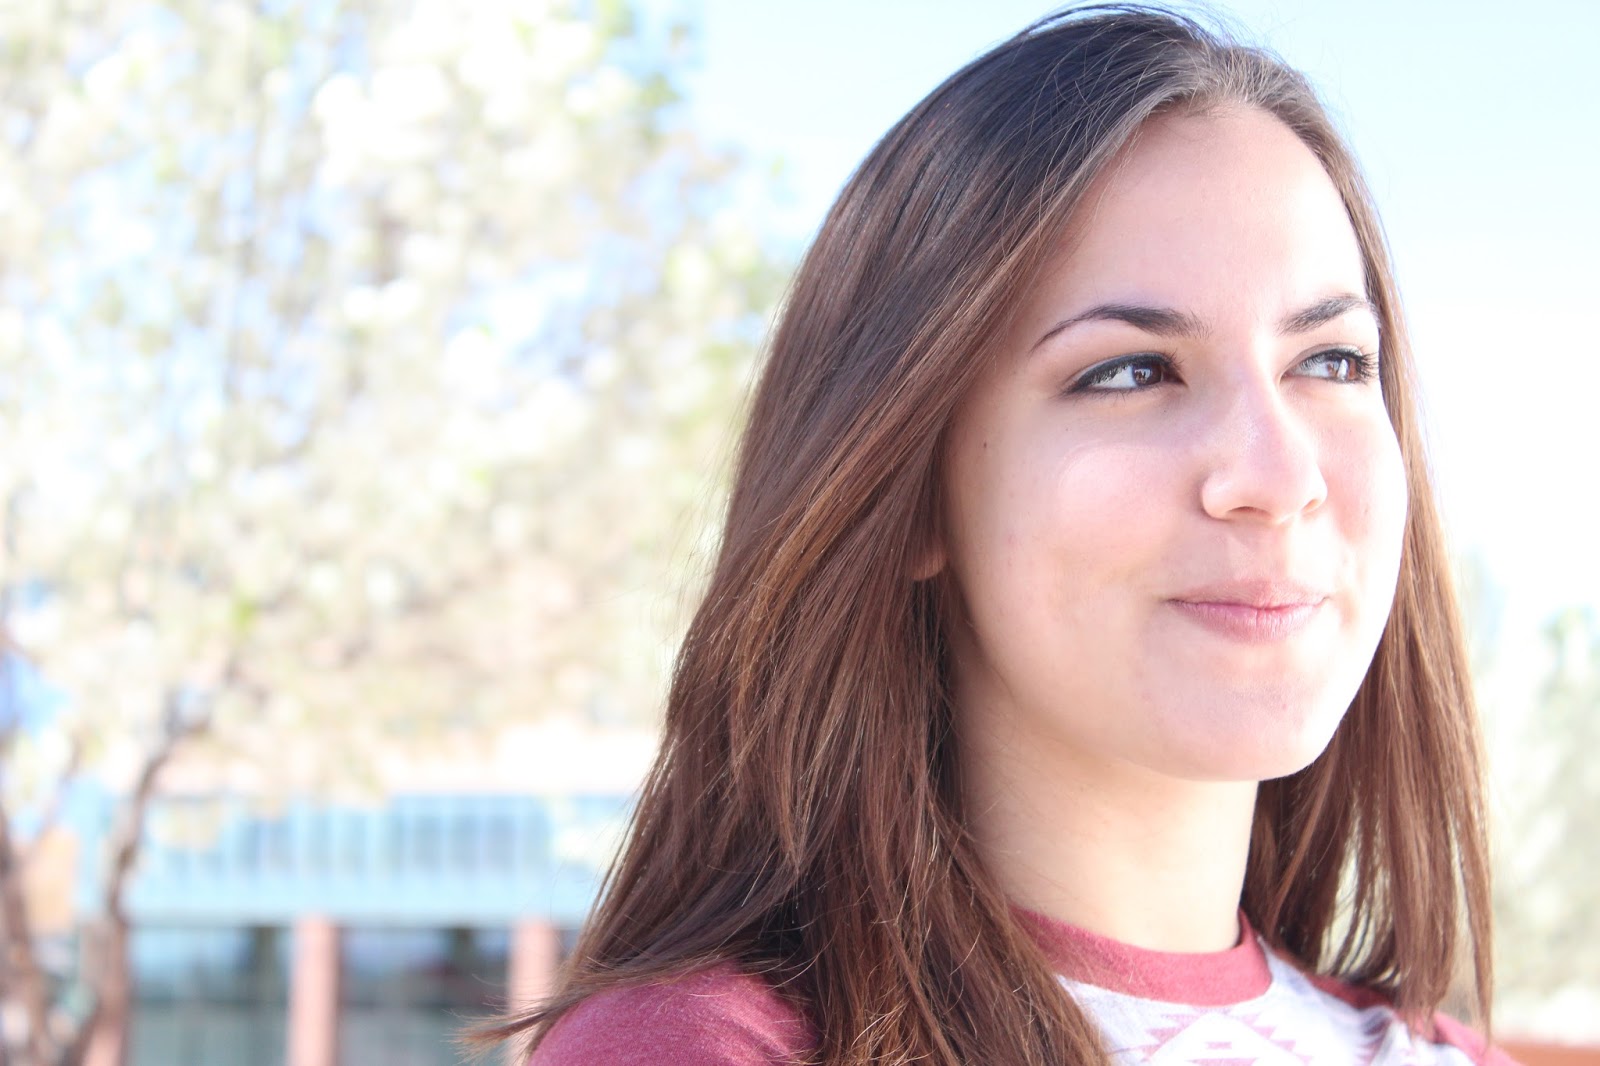
 Glamour lighting is much different from Rembrandt lighting. Instead of telling a story, this type of lighting lends itself to beauty. Although beauty can tell a story, in my personal opinion, beauty light is much less dramatic and much more soft. The light is cast on the face in a very soft glow, which almost erases any age lines or blemishes (on women). For men, glamour lighting can be extremely unflattering. If the subject has gone a few hours without shaving, this type of light will definitely pick that up on camera. However, it is not impossible to capture both genders with this type of lighting in a flattering way. By giving the frame a slight cant and shooting a profile, beauty light can bring out the best in a male subject, giving just enough shadow to maintain the masculine features without bringing them forward to a fault. Moving outdoors created a much brighter exposure, but I personally enjoyed the take I received from outdoor shooting over the studio light setup. Using just a soft bounce and a shadow, extremely gorgeous and interesting photos can be taken. Having a background to work with, like the blossoming trees, can really add flair to a portrait.

1/250 f5.6 55mm

1/125 f5.6 55mm

1/125 f5.6 55mm

1/125 f5.6 55mm

1/125 f5.6 53mm

1/2000 f5.6 55mm

1/800 f5.6 55mm


 The following photos were edited from Dustin's take in the studio. When I received them, they were at a low ISO/ASA, around 3200 as opposed to the 5600 or so tint that was set up. My first step, if I decided to keep the saturation in the photo, was to alter the temperature to more fit the lighting scenario. For the first one, I accentuated the blue bounce off of the subject's shoulder, creating an interesting aura. For the beauty lighting, especially in the male subjects, I lowered the clarity to remove any unflattering blemishes and soften the image. It was a challenge balancing focus with a solid soft fix to effectively achieve my edit. For the black and white images, after removing the chroma, I boosted the contrast and increased the shadows and blacks by just a tad. I personally enjoy black and white photos with very strong contrast, mostly because they give off more of a story than a standard gray black/white photo. For T-Rex, I reduced the saturation a smidge, but adjusted the highlights and contrast. As a male under beauty lighting, I still wanted to maintain a masculine feel, and slightly lowering the saturation helped bring out a "tougher" take. I adjusted the final photos all based on the subject's facial expression. If she was happy, I increased the saturation and slightly warmed it up to give it more of an optimistic feeling. However, if her tone was serious, I adjusted accordingly, by lowering or removing the chroma completely and increasing the contrast.


Wednesday, February 17, 2016

Shooting Tight

For this assignment I chose to illustrate the stress of midterms and its effects on different students. Using the tightest and most compressed focal length I was able to frame up my stories much, much easier than the previous wide angle assignment. Not only this, but I was able to utilize depth of field when going through and capturing each frame in order to draw out a more editorialized and effective story.


In the shot above, I decided to leave the exposure set for the daylight coming through the window, casting the subject of the photo in shadow. I was able to be in the right place at the right time to catch him with his hand on his head and papers spread all over his workspace. This photo is one of my favorites from this assignment, showing how beautiful the spring weather is, and how little students studying for midterms have the chance to enjoy it. 


This subject in this frame, with his body turned out toward the sunlight, is also a prime example of the warm spring weather outside while students are stuck indoors. The computers out of order next to him show both a lack of maintenance and signs of progress (pun intended). The compression helped to isolate the subject and set my frame much easier.


This final shot is my favorite. Some students might stress over midterms while others... Not so much. The tight focal length enabled me to show just what I wanted to show. With his legs crossed, this student is without a doubt the embodiment of senioritis. Once again I set the exposure to balance for the outdoors in order to capture the same "trapped" essence I tried to portray in my earlier photos in the series. 

Overall, I prefer shooting tight to shooting wide when clicking for news-gathering purposes. Being able to editorialize on the spot by isolating your designated frame helps bring out quality in each photo and tell the story much better. Utilizing the much more shallow depth of field helps to do this even more so. Good luck on midterms everybody.

Sunday, February 14, 2016

Shooting Wide

For each of these photos, I used the widest focal length available on my Canon Rebel T3i. Unfortunately, because the camera isn't mirrorless, the 18-55mm lens I had turned into more of a 30-88mm focal length. Regardless, I still felt the impact a wide angle can have when illustrating a story. I wanted to illustrate something huge for this assignment; something worthy of a wide focal length. I chose to shoot the skeleton of the new student housing that's being built near the Brown and Science buildings. Using the wide focal length, I wanted to show the contrast between the current on-campus student housing's size and the new proposed housing currently in construction. Capturing the top of the crane really helped further the idea that this new student housing truly will be "bigger and better". 


In the earlier photos in the series, I tried to include the older student housing in the frame, to better show the contrast. I attempted more of a silhouetted feel in the first two photos, which admittedly was more of a personal preference. The sunset was gorgeous and I felt the colors of the sunset highlighting a silhouetted construction site would especially help the photos stand out.


The third photo I captured to show that something new and exciting was happening in an otherwise bland area. (No offense, St. George.) In editing these photos, I brought the clarity and contrast up, as well as cooling down the temperature. It was tough getting used to having an extremely limited depth of field to work with. I attempted some depth of field shots earlier in my series, but they came out looking terrible, so I decided to cut them. In the end, just showing the massive scale of the story was the best route to follow when using such a wide and all-encompassing focal length. 


The fourth photo I included wasn't shot at a wide focal length, but I decided to include it simply because of its aesthetic value. In layman's terms, it's purty.

Monday, February 8, 2016

Bracketing

Here are the photos from my Bracketing series. I shot them with a Canon Rebel and an 18-55mm lens. All the photos are taken at a 55mm focal length. The camera's lens could not close down past a 5.6, so I compensated by shooting a 6.3 as my 5.6, and my 5.6 as a 4.
f/5.6 
1/4000s
55mm

f/6.3
1/4000s
55mm

f/8
1/4000s
55mm

f/11
1/4000s
55mm

f/16
1/4000s
55mm

f/16
1/1000s
55mm

f/11
1/2000s
55mm

f/8
1/4000s
55mm

f/6.3
1/4000s
55mm

f/5.6
1/4000s
55mm

The metered photos got a bit overexposed towards the end of my f/stop cycle because the camera's shutter speed was not fast enough to compensate for the wide-open lens exposure. I tried my best to center the meter as much as I could, but it turned out to slowly overexpose as I opened the shutter. If my camera's shutter speed offered a faster option, it would have metered out better. Also, I could have opted to find another spot to shoot my photos that wasn't as brightly lit. Hindsight is always 20/20. Either way, I did understand the concept of the bracketing assignment, I just wasn't thinking  at the time to look for another area to shoot.

Monday, February 1, 2016

Axioms

Now that I finally have access to a camera capable of producing the variables required of this assignment, I was able to go out and shoot the axioms with my buddy Jamal. We struggled at first, taking a few overexposed photos, but we eventually got it figured out (hopefully) with the aid of professor Young.
These four photos address slow shutter speed, fast shutter speed, shallow depth of field, and wide depth of field respectively. The metadata is included under each photo.

Slow Shutter Speed:
f/36
1/80s
55mm

Fast Shutter Speed:
f/5.6
1/4000s
55mm


Shallow Depth of Field:
f/5.6
1/3200s
55mm


Deep Depth of Field:
f/22
1/200s
18mm

Getting the depth of field photos was a bit confusing, and I'm not sure I 100% grasp the concept. It seemed as though I was only able to achieve a shallow depth of field with a much more condensed focal length, and the deep depth of field with a much wider focal length. I feel as though the f-stop and shutter speed were not huge factors in creating the axiom, although somehow I don't think that's quite correct. Either way, I think I achieved the requirement of the assignment. If not, I gladly welcome any tips on creating a shallow and deep depth of field with greater accuracy.